

To install a WordPress plugin, open Plugins → Add New Plugin, find the extension you need, select Install Now, and then click Activate. That is the shortest route on a self-hosted WordPress site. But installing a plugin safely requires more than clicking buttons. You also need to check whether the feature is needed, whether the developer is trustworthy, which server versions the plugin supports, and how to recover your site if the activation breaks something.
This practical beginner’s guide covers three installation methods—WordPress Plugin Directory, ZIP upload, and SFTP—plus how to configure, test, update, deactivate, and remove plugins. It also explains the differences between WordPress.org and WordPress.com. If you are completely new to the platform, begin with our 17-step guide to learning WordPress.
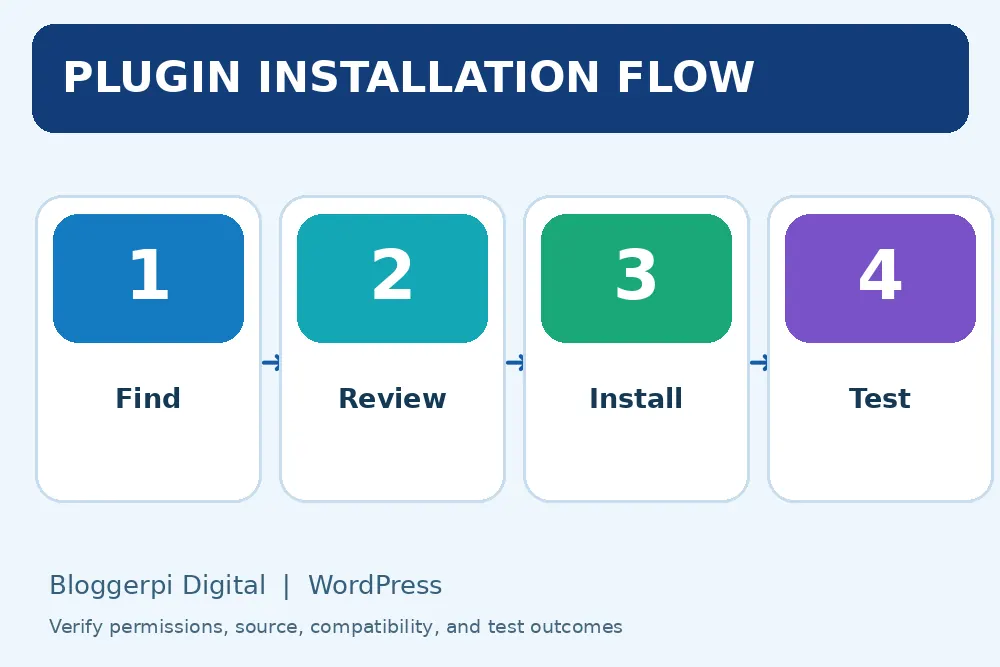
What is a WordPress plugin, and when do you actually need one?
A plugin is a package of code that adds or changes WordPress functionality without changing the core installation. Common examples include forms, ecommerce, website backups, anti-spam tools, analytics, multilingual content, SEO settings, and caching. A theme primarily concerns presentation, while a plugin is generally a better home for functions that should survive a future theme redesign.
Not every capability requires an extension. WordPress already provides blocks for headings, tables, images, and several other content elements. For editorial decisions, see the difference between WordPress pages and posts before adding functionality. Hosting companies may also offer security, backups, or caching. Before installing anything, define the business problem, check what WordPress already supports, and consider the ongoing maintenance cost.
Our explanation of WordPress plugins, types, and risks explores the decision in more detail. If the software itself is unfamiliar, read what WordPress is and where it works best before adding complexity to a new site.
Before installing: permissions, backups, compatibility
1. Confirm that your account can install plugins
On a standard WordPress installation, administrators normally have the install_plugins capability. Editors and Authors generally do not. In WordPress Multisite, network plugin management is typically controlled by a Super Admin. If you cannot see a plugin installation menu, check your account role and site configuration instead of searching for a workaround that bypasses legitimate access restrictions.
Self-hosted WordPress installations and WordPress.com plans are not identical. WordPress.com’s November 2026 guidance describes plugin installation as available on its paid plans, while free plans require an upgrade. The exact dashboard experience may vary by plan or interface. Check your hosting provider’s documentation before assuming a feature is missing.
2. Set up a recoverable backup
A safe backup should include relevant WordPress files and the database, with a copy stored independently of the live server. Verify that you can restore it. A scheduled backup job is helpful, but it is not evidence that a broken website can actually be recovered. For a site that receives sales or inquiries, have a recovery plan before installing a major extension.
Use a private staging copy to test plugins that change checkout, authentication, content structure, SEO output, or the database. The same principle applies to redesign work; our safe WordPress theme change checklist shows how to plan and verify significant site changes without using visitors as testers.
3. Review the plugin, not just its marketing description
In the WordPress.org directory, examine the plugin author, last update, supported WordPress version, PHP requirements, documentation, support discussions, and changelog. A large active installation count provides context but does not guarantee that a plugin is suitable for your site. For commercial plugins, understand what a license covers, how updates are delivered, and whether your organization can get help when something breaks.
Prefer the official WordPress repository or the identifiable vendor’s own download page. Avoid modified or “nulled” copies of premium plugins. The code may have been tampered with, and licensing problems can become operational or legal problems later. Be careful about installing two plugins that perform the same major function, especially caching and SEO metadata management, without a deliberate configuration strategy.
Method 1: Install a plugin from the WordPress Plugin Directory
This is the simplest installation method for most beginners because the dashboard handles the download, extraction, and installation process. Names and layouts may differ slightly between WordPress versions, but the steps remain consistent.
- Sign in to the correct WordPress administrative dashboard.
- Go to Plugins → Add New Plugin or Plugins → Add New.
- Search by an exact plugin name, developer, or function.
- Open the plugin’s detail panel and check the description, version compatibility, and support information.
- Click Install Now for the intended plugin.
- After the install succeeds, select Activate.
- Open any settings page or onboarding wizard provided by the plugin.
- Test the specific feature and the most important pages on mobile and desktop.
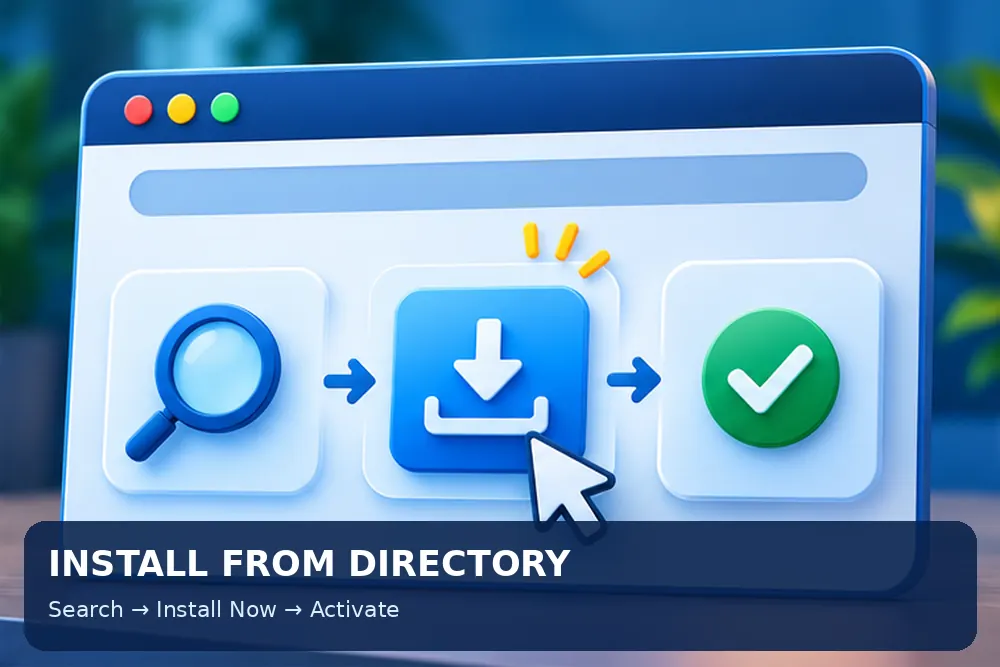
Installing and activating are different. Installation places a plugin’s files on the server. Activation makes WordPress load its functionality. An installed but inactive plugin will not normally run its features. Some plugins require another step after activation, such as connecting an external service, setting up an account, entering a license, or publishing a shortcode or block.
Consider a consultancy that needs a contact form. It is not enough to activate a form extension and add a form block. Create a test submission, make sure validation works, verify that the message reaches the correct address, confirm any spam controls are reasonable, and check that the site’s privacy disclosures are appropriate for the information collected.
Method 2: Upload a WordPress plugin as a ZIP file
ZIP upload is often used for premium plugins, custom extensions, and packages downloaded directly from a trusted developer. In the dashboard uploader, you typically use the original plugin ZIP rather than extracting it first. The correct installation archive may be different from a larger vendor download package containing documents, examples, or multiple ZIPs.
- Download the plugin ZIP from its legitimate supplier and read the installation notes.
- Navigate to Plugins → Add New Plugin → Upload Plugin.
- Choose the correct
.zipfile from your computer. - Select Install Now and wait for confirmation.
- Click Activate Plugin if installation completed successfully.
- Enter license details or complete setup as instructed by the vendor.
- Verify that forms, pages, search metadata, and other impacted features still work.
If WordPress reports that a destination folder already exists, stop and inspect what is currently installed. You may already have a previous version, or your vendor may require a dedicated update workflow. Avoid manually overwriting plugin files during a live sales period without confirming backup status and compatibility.
A repeatable installation record is useful for teams: store the vendor URL, plugin version, installation date, responsible team member, licensing status, and notes about any settings that had to be changed. These records make future troubleshooting faster and help prevent accidental version rollbacks.
Method 3: Install a plugin manually with SFTP
Manual file transfer is an advanced alternative when the built-in installer is unavailable or your hosting architecture requires deployments through a controlled channel. It is usually not the best default for beginners. Use SFTP, which provides encrypted file transfer, instead of plain FTP.
- Download a verified plugin archive from its official source.
- Extract it on your own trusted computer.
- Connect to the hosting server with an authorized SFTP account.
- Navigate to the site’s
wp-content/plugins/directory. - Upload the correct plugin folder, avoiding an unnecessary second nested folder.
- Return to WordPress → Installed Plugins and activate the newly uploaded extension.
- Configure the plugin and run checks on affected pages and business functions.
Do not solve permission errors by setting overly permissive file access rules. File ownership and permissions should be investigated with the host or server administrator. For live businesses, avoid making unreviewed file changes outside the approved deployment process.
Installing WordPress plugins with WP-CLI
Developers and operations teams may choose WP-CLI for documented, repeatable installations. For example, wp plugin install plugin-slug --activate requests an installation and activation using a recognized WordPress.org slug. It should be run only where you have permission and a suitable deployment process. Confirm the exact slug and the consequences before automating installations across several sites.
WP-CLI is convenient for scripted environments, but command-line access does not eliminate the need for compatibility review, backups, safe secrets handling, and post-deployment testing. Treat automated deployments as software changes with clear ownership and rollback procedures.
After activation: configuration and practical quality assurance
Find the settings and finish onboarding
Plugins may add a menu item, a submenu under Settings, a widget, a block, or a new settings panel inside an existing editor. Follow the developer’s documentation rather than guessing. For backup extensions, verify storage and restoration; for forms, test submissions; for security plugins, evaluate alerts and access policies; for SEO tools, check output on actual public URLs.
Look for conflicts with other software
Conflicts can occur between plugins, a theme, server software, or different versions of PHP and WordPress. If a plugin changes login, payment, or data storage, stage the change and test a representative customer journey. Avoid disabling every plugin on a live transactional site without a plan to preserve service and restore state.
Test SEO markup instead of trusting a score
Extensions that manage SEO metadata, schema, redirects, and indexing can interact in complicated ways. Inspect the rendered title tag, meta description, canonical, robots directives, and XML sitemap when relevant. Two independent tools outputting competing canonical tags can be more damaging than an imperfect score in either dashboard.
Use our XML sitemap guide, practical on-page SEO checks, and a technical SEO checklist to evaluate the change. Content quality and useful internal navigation remain important even if the SEO plugin reports success.
Measure performance and mobile usability
A plugin may enqueue scripts, run database queries, introduce external requests, or add visual components. Test comparable pages before and after activation. Watch for sluggish navigation, layout shifts, inaccessible forms, or assets that block important content. Avoid diagnosing the cause from a single speed score; reproduce the issue and assess relevant logs and waterfall data.
Our WordPress PageSpeed Insights guide offers a structured approach to performance checks. If you use Cloudflare, review Cloudflare settings for WordPress before clearing caches or changing site-wide rules.
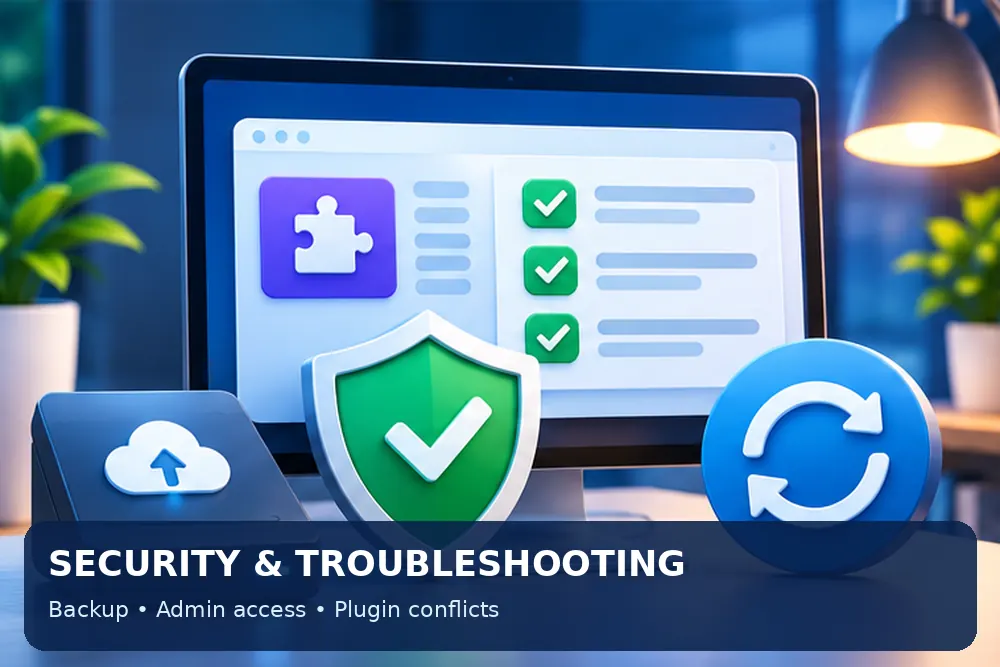
How to update, deactivate, and delete a plugin
Under Plugins → Installed Plugins, WordPress distinguishes active and inactive extensions. Before an important update, read the vendor changelog and ensure the site has a usable backup. Apply the update through a supported method, then verify the most important site functions.
Deactivate stops a plugin from operating but does not necessarily remove its options or stored data. Delete removes plugin files, while data cleanup depends on the plugin’s uninstallation implementation. Some plugins retain settings to support reinstallation; others can permanently delete their data when uninstalled. Review the documentation before removing extensions associated with orders, user accounts, or other records.
Do not leave unused, abandoned plugins indefinitely. After checking dependencies, deactivate safely, confirm nothing important stops working, and remove the unused code. A website with several carefully selected plugins is not automatically slower than a website with one poorly designed plugin; maintenance quality and actual workloads matter.
Troubleshooting common WordPress plugin installation failures
| Problem | Possible reason | What to check |
|---|---|---|
| Plugin menu missing | Insufficient permissions, network policies or hosting restrictions | Verify your role and the site owner’s settings |
| Installation cannot create files | Disk space, ownership or filesystem configuration | Inspect host logs and permissions |
| ZIP is rejected | Wrong package, missing plugin structure or corrupted archive | Obtain the correct vendor installation ZIP |
| Fatal error during activation | Compatibility issue or plugin conflict | Record error, disable the offending plugin safely, test staging |
| New feature not visible | Plugin not activated or onboarding incomplete | Check Installed Plugins and setup documentation |
| Pages become slower | Extra scripts, external services or database load | Compare real pages and logs before applying changes |
If activation causes an error that blocks dashboard access, WordPress may offer Recovery Mode. Otherwise, an authorized server administrator may use the hosting file manager or SFTP to disable the responsible plugin, then inspect PHP error logs. Avoid deleting the whole plugin directory or performing a full database restore without considering new customer activity since the backup.
Sites with AI-assisted administration need extra access controls. Our guide to WordPress security when using AI and MCP explains why tool permissions, review, and logging matter. Automated website management can be useful, but it should not silently install production code without appropriate safeguards.
WordPress plugin installation checklist
- The plugin solves a documented need not already handled by core or hosting.
- The source, author, compatibility, update history and support are credible.
- Licensing and permissions are understood before installation.
- A recoverable backup exists and risky changes are tested on staging.
- Installation, activation, onboarding and settings are completed.
- Critical customer flows, responsive UI and relevant SEO markup have been checked.
- The plugin version and maintenance owner are recorded.
Frequently asked questions
How many plugins should a WordPress website have?
There is no single ideal number. Choose plugins according to function, maintenance, performance and security. One inefficient or outdated plugin can be more problematic than several small, well-maintained extensions.
Do I have to activate a plugin after installing it?
Yes, if you want WordPress to run that plugin’s functionality. Installation puts the files in place; activation turns the plugin on. Additional configuration may still be needed.
Can I install a plugin without being an administrator?
Only through another properly authorized management route, such as a site owner, network administrator, or approved deployment mechanism. Do not attempt to bypass the site’s access controls.
Can I leave an inactive plugin installed forever?
It is better to periodically review inactive software. The files may still require security maintenance, and an abandoned plugin serves no purpose when the feature is no longer needed.
Which installation method is best for beginners?
The WordPress Plugin Directory installer is generally the simplest. Use ZIP upload for a legitimate vendor package and SFTP primarily when required by the hosting or recovery workflow.
Conclusion
Installing a WordPress plugin is quick, but safe plugin management is an ongoing responsibility. The right process includes choosing credible code, preparing recovery options, configuring it carefully, testing the real website, and keeping the installation maintained. As your website grows, see how Bloggerpi uses ChatGPT and MCP to manage WordPress workflows while preserving checks around content quality and access.
Official references
- WordPress.org — Manage Plugins
- WordPress.org — Plugins Add New Screen
- Learn WordPress — Choosing and Installing Plugins
- WordPress.com — Install a Plugin
- WP-CLI — Plugin Install
- Learn WordPress — Plugin and Theme Conflicts
