

How do you verify your business on ChatGPT? There are two related steps that are easy to confuse: proving your connection to a business when you claim its listing, and completing an additional identity-and-authority check through Persona. The first step can use a business email, website DNS record, phone, or Shopify connection when the corresponding method is offered. The second confirms who you are and whether you can represent the business.
This guide focuses on business email, domain TXT verification, and Persona. They do not serve identical purposes, and you should not be told that a successful email or DNS check automatically gives the business a blue verification badge. We explain the sequence, technical details, common errors, and what happens after an approval.
Updated November 16, 2026. Businesses in ChatGPT remains in beta, so the options available for your organization can differ by geography, industry, and listing. The instructions below follow OpenAI’s official Help Center and policies, with practical context from an earlier Kelanakids claim documented on Bloggerpi.
Why Does Business Verification Matter?
ChatGPT may mention a business even when the company has never managed its profile. Without an authorization process, an unrelated person could try to edit a company’s website link, claim ownership of an established brand, or publish misleading product details. Business Hub therefore asks prospective administrators to prove that they own the organization or have the right to represent it.
The process also separates basic access from more sensitive capabilities. Once the initial claim has been approved, the business can be accessed in Business Hub. But OpenAI requires approved Persona identity verification before publishing changes to business information, connecting a product feed, viewing available insights, or creating an eligible Business Agent.
For screenshots of a real domain-based claim, see our step-by-step business claiming guide. That article follows five Kelanakids screenshots from choosing the domain method to claim approval. Here we focus more closely on choosing a method, avoiding mistakes, and handling pending or failed verification.
Initial Claim Verification Versus Persona Identity Verification
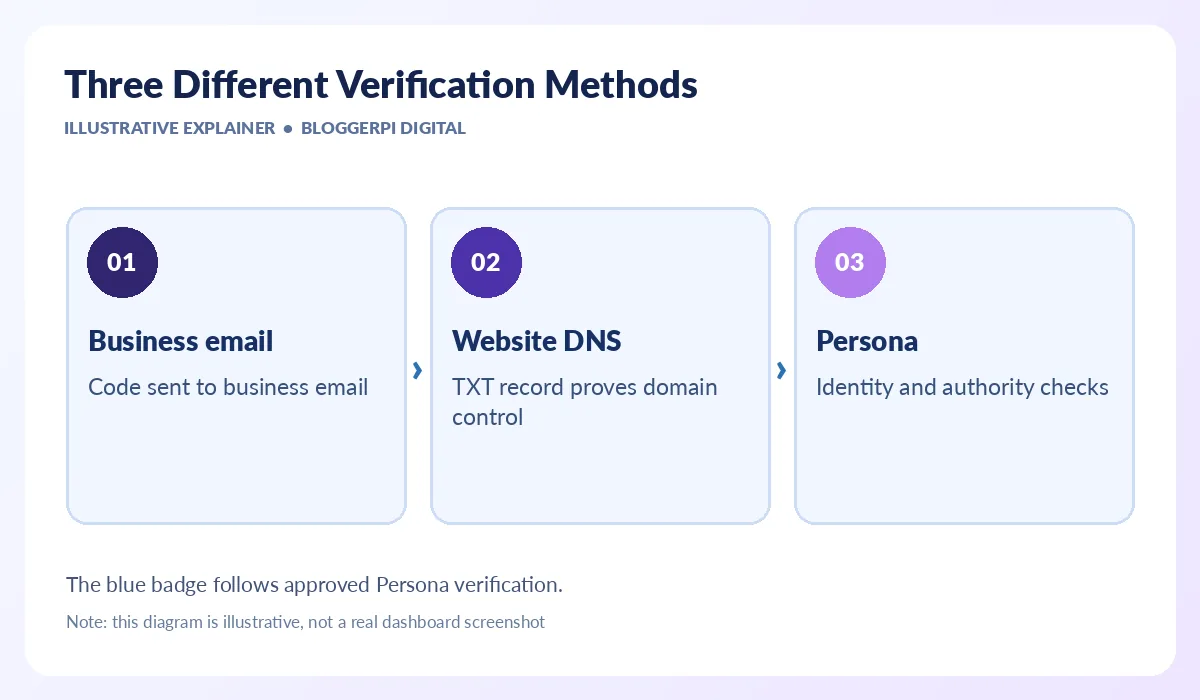
Claim verification is designed to establish a credible relationship with a business listing. An email code can show access to a relevant company inbox. A DNS TXT record can demonstrate the ability to manage the website domain. Shopify verification can connect an eligible store. These mechanisms relate to control of channels associated with the business.
Persona verification answers a different question: is this person who they say they are, and can they legitimately represent the organization? OpenAI may request a government-issued ID, business registration details, or proof of authority. The Help Center specifies that the blue verified badge appears after Persona is approved, not simply when a claim is filed or a DNS check succeeds.
That difference explains a seemingly contradictory dashboard state: a profile can show Website access: Access confirmed while the overview still asks the administrator to verify identity. In our Business Hub review using real screenshots, both statuses appeared in the Kelanakids example. They refer to different stages and can legitimately coexist.
Before You Start: An Ownership and Access Checklist
- Business identity: check the legal or public name, official website, service area, and matching listing.
- Administrator account: use a ChatGPT account that your company intends to retain for long-term management.
- Business email: confirm access to the relevant inbox if email verification is offered.
- DNS administrator: know which provider controls the domain’s authoritative DNS, not merely where the site is hosted.
- Identity documentation: prepare government ID, registration information, or authorization evidence only when the official Persona flow requests it.
- Security: keep one-time codes, claim invitations, and sensitive documents out of public chats, spreadsheets or loosely controlled agency channels.
You do not have to complete every claim method. The interface offers specific methods for the listing, and you should use one that you can legitimately complete. If a phone option is disabled or a business email option is missing, that is not a reason to invent contact information or create duplicate profiles.
How to Verify a Business Using a Business Email
Email verification: step by step
- Sign in to ChatGPT on the web and open Business Hub. Search for the company using its correct name.
- Choose the matching business listing and confirm the administrator account that will be associated with the claim.
- On Choose how to verify your claim, select Business email if it is available.
- Review the email address shown on the screen, then select Get code.
- Open the appropriate business inbox, locate the verification email, and enter the requested code in ChatGPT.
- Follow the remaining instructions and wait for OpenAI’s claim approval or request for additional information.
Email is usually convenient when the listing already recognizes an inbox that the business owner controls. However, you cannot assume every email address at the company is an accepted destination. The option and its destination depend on the verified business listing and the available verification process.
If the message never arrives, inspect the inbox and spam folder, verify that the mailbox is active, and check any organization-level email filters. Avoid forwarding one-time codes to unverified third parties. If an external agency is assisting you, a safer arrangement is for the business administrator to complete the sensitive check and then invite team members through the supported access system.
How to Verify a Business with a Website Domain and DNS TXT Record
Domain verification: step by step
- Open the verification-method page and select Website domain, if offered.
- Read the instructions for verifying control of your specific company domain.
- Copy the displayed Type, Name or host, and Value or content exactly. The record type will be TXT for this method.
- Open the authoritative DNS management panel for your domain and add the specified TXT record in the correct zone.
- Save the record and allow time for DNS propagation, which depends on the provider and caching behavior.
- Return to Business Hub, select Verify domain, and complete any remaining steps. Await the claim-review decision if it is still pending.
The Name or host field is particularly easy to mishandle because some DNS providers automatically append the domain name. Entering a complete hostname into a field that expects only the relative label can create the wrong record. Carefully compare what the DNS provider actually saves with the instructions shown in ChatGPT.
Your domain’s registrar and its active DNS provider may be different companies. If the nameservers point to Cloudflare, for example, adding a TXT record in an unused hosting control panel will not verify the domain. Ask the team responsible for the authoritative DNS zone to make the change. A TXT record is published as text; it does not use the HTTP proxy behavior applied to some other record types.
Troubleshooting a DNS Check That Does Not Complete
- Check that the TXT name/host is correct and does not accidentally repeat the domain suffix.
- Check that the TXT value is complete, with no missing characters or unintended whitespace.
- Confirm the record is created under the correct DNS zone and authoritative nameservers.
- Allow for propagation before assuming the verification failed.
- If a token or verification request has expired, use the current instructions from the business’s own ChatGPT screen.
- If the problem persists, contact OpenAI Support with the step and error message, but do not publish sensitive verification details.
Never copy a DNS token from someone else’s screenshot. In the Kelanakids claim example, the host and verification value were specific to that request and domain. A tutorial can show you where to look, but the actual record must come from your own Business Hub session. Do not delete existing SPF, DKIM, DMARC or other production DNS records in the process.
How to Complete Persona Identity Verification
Once your claim is approved, open the business overview in Business Hub. If you see a notice like Verify your identity with a government-issued ID or Complete verification with Persona, you have reached the identity stage. This can happen after a successful email or DNS claim, because domain or mailbox control does not itself establish the identity and authorization of the person managing the business.
- Open Business Hub under the account authorized to manage the claimed organization.
- Select the business profile and locate the Persona-verification notice.
- Choose Verify or Verify with Persona, then proceed through Continue to Persona if prompted.
- Provide accurate information and only the documents required by the official flow. These may include a government ID, business registration, and proof of authorization.
- Submit the request and monitor email for a decision or a request for clarification.
- After approval, inspect the profile badge and which management, feed, insight, or agent capabilities are available to your business.
Submitting documents is not the same as passing verification. OpenAI reviews the request and may ask for more information. Features requiring Persona remain unavailable while the review is pending or has failed. For certain workflows that create a new profile through Persona, OpenAI warns that approval may automatically publish that profile, so confirm the details are ready before continuing.
Identity data is sensitive. The best practice is to complete the workflow through OpenAI’s official interface and avoid circulating copies of IDs across unrestricted shared folders. Owners can add authorized colleagues or agencies through Business Hub permission features rather than sharing a personal ChatGPT login.
Business Email, DNS, or Persona: Which Should You Choose?
The right answer is not simply one of the three. Business email can be an initial claim method when the platform offers an inbox you control. Website DNS can be an initial claim method when you have authority to add the supplied TXT record. Persona is an additional identity-and-authority check that OpenAI requires for advanced management features, regardless of which initial claim method you used.
Other supported initial methods include a business phone using SMS or automated calls and an eligible Shopify store connection. Availability depends on the listing. Attempting to circumvent the offered method by using an unrelated address or someone else’s store can violate the platform’s requirements and complicate ownership.
What Changes After Verification Is Approved?
After claim approval and Persona approval, the business may submit edits to its profile, provide product feeds where eligible, and access available aggregate Insights such as mentions, website clicks, and discovery topics. OpenAI reviews submitted profile changes, so publication may not be instantaneous. The verified badge reflects Persona approval, but does not guarantee placement, sales, or independent ChatGPT recommendations.
A separate Business Agent feature may be available to eligible organizations. At the November 2026 launch, it was limited to certain US ecommerce and online service businesses with websites. A business that completes verification outside that segment should not assume it has automatic agent-publishing rights. The agent has its own policy requirements and publication step.
Pending, Failed, or Disputed Claims
When a claim or Persona request is pending, wait for OpenAI’s email decision or request for additional evidence. Review times vary, and there is no universal guaranteed turnaround. If Persona fails or expires, follow the email instructions, select Try again if it appears, and make sure your legal name, business address, and registration or tax number match official records.
If the business listing has already been claimed by another party, use the documented Dispute ownership flow from the listing’s options menu. OpenAI may request Persona verification to establish authority. If the listing is locked and shows Contact support, use that route rather than creating a false duplicate listing or trying to access another person’s account.
Do Not Confuse Business Claim DNS with Workspace SSO Domain Verification
OpenAI also uses the term domain verification for organizational identity and single sign-on setup. That process proves control of an email domain for a workspace or tenant and has separate effects on identity settings. It is not automatically the same as the website-domain TXT record requested when claiming a public business listing in Business Hub.
This distinction matters for companies with established ChatGPT Business or Enterprise workspaces. Before changing DNS or identity settings, confirm whether the task is business-profile claiming or domain administration for user sign-in. The second process can affect employee account access and should be handled by the relevant identity administrator.
Infographic: Business Email, DNS and Persona
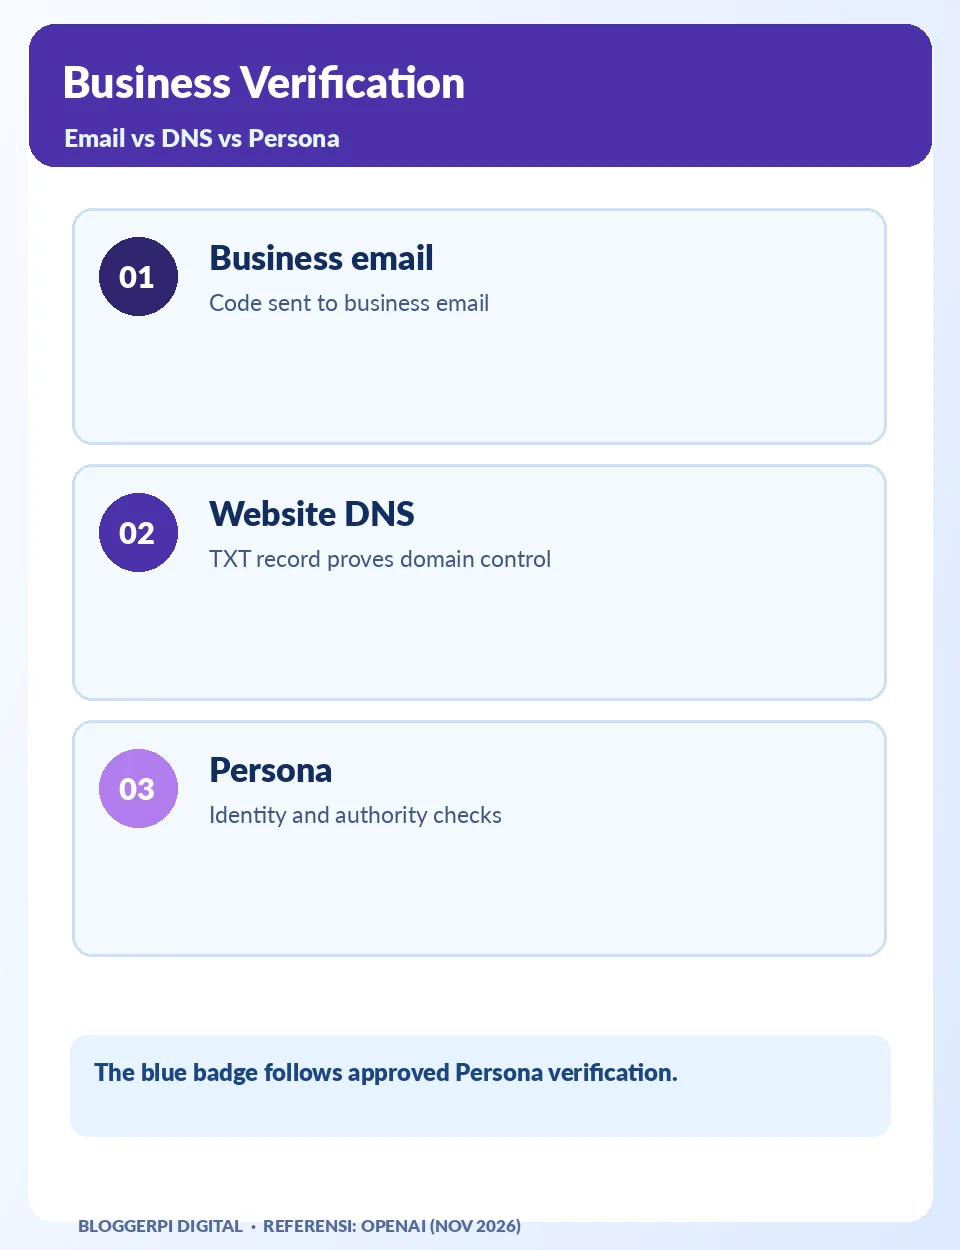
The infographic is a decision aid, not a replacement for the precise instructions displayed in your account. Use the current values and prompts in your Business Hub; never reuse an example claim token, one-time email code or private identity document from another person’s account.
Frequently Asked Questions
Must I complete both business email and DNS verification?
No. Use an initial method offered to your listing. Persona serves an additional identity-verification purpose and is not interchangeable with those methods.
Why is the Business email option missing?
The options depend on the listing and eligibility. Choose a legitimate available alternative rather than inventing contact information.
Can I use a DNS TXT value from an online tutorial?
No. The host and verification value must come from your own business’s current verification screen.
When does the blue verified badge appear?
According to OpenAI’s Help Center, after Persona verification is approved—not merely when the initial claim is accepted.
Can Persona be completed later?
Yes. After an initial claim method is approved, you can open the business overview and complete the Persona process from the verification panel.
Why can’t I edit the profile even though Website access is confirmed?
Confirmed website access is not the same as approved Persona identity verification. Complete the additional step if prompted.
Do I need ChatGPT Enterprise or a paid Business workspace?
Not as a baseline requirement for claiming an eligible listing. Workspace subscriptions and advertising are separate products.
What if Persona verification fails?
Follow OpenAI’s email instructions, correct mismatched official records, retry if the option is offered, or contact Support if blocked.
Conclusion: Complete the Correct Two-Stage Process
Email and DNS verification are ways to prove a legitimate connection to a business listing. Persona is the additional step that verifies identity and authorization for broader Business Hub capabilities. Understanding the distinction helps owners avoid confusion when a claimed listing is visible but advanced features remain locked. It also reduces the risk of exposing sensitive information while seeking help.
To see how a real DNS-based claim proceeds, follow our business claim tutorial. Then explore the Business Hub review to understand the visible status and next actions after claim approval.
Official References
- OpenAI Help Center — Setting up your business on ChatGPT
- OpenAI — Businesses in ChatGPT
- OpenAI — Businesses in ChatGPT Policy
- OpenAI — Verifying your domain for OpenAI identity (separate process)
